Force and mark: the first step of defence
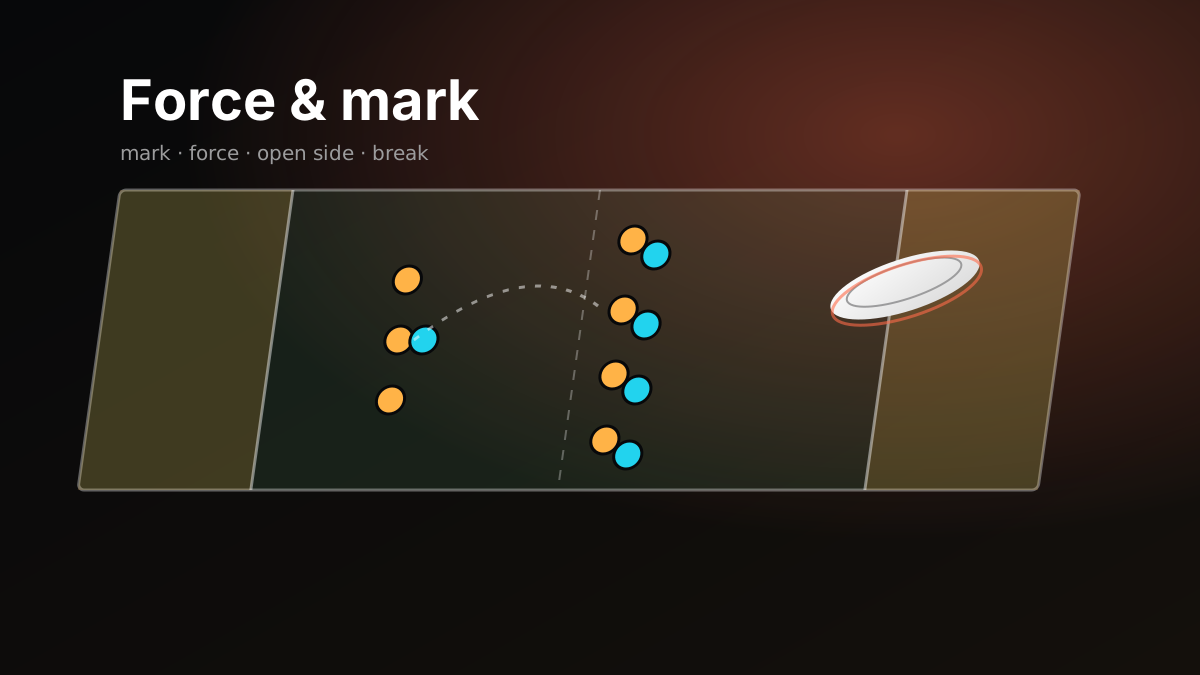
The horizontal stack post covered the offence. Now the other side: how do seven defenders share the field? There is one idea at the centre of it. If you let the thrower throw anywhere, you have to defend the whole field. If you push them to one side, you defend half of it.
That push is the force, and the player applying it is the mark.
The mark and the force
The mark stands a step in front of the thrower, towards one side, with an arm out on that side. A throw that way has an arm in front of it; the other way is free. The free side is the open side, the covered side is the break side. The mark also counts the stall out loud.
The direction of the force is a team decision and usually stays fixed for a whole game. Two common choices:
- Force forehand (flick): make the thrower throw forehands. Most players’ forehand is the weaker throw.
- Force backhand: the opposite, chosen for wind or for a specific opponent.
The mark has two rules: no contact (running into the thrower is a foul; stay at least one disc’s width away) and give the open side. A mark who tries to take everything takes nothing. The job is to remove one side and tell the other six defenders “the disc is coming from here”.
How the other six stand
The real payoff of the force is not for the mark but for the six behind. Each defender stands on the open side of their cutter, slightly closer to the disc, and leaves the break side alone because a throw there is hard. This is called shading to the open side.
In the animation cutter 2 cuts under to the open side, but the defender is already on that side and closer to the disc. Even if the throw goes up, the defender is in front. A well-applied force turns the offence’s easy throw into a hard one.
The break throw
The offence’s answer is to throw to the break side: the break throw. The thrower passes around the mark’s arm (an “around”) or underneath it (an “inside”). It is difficult because the arm is there, but when it works the whole defence is on the wrong side and the cutter is completely free.
Good defence is therefore a negotiation between the mark and the six behind. The better the mark holds, the harder the others can lean to the open side. If the mark gives up a break, the others go back to playing “honest”, staying right on top of their cutters.
Common mistakes
- The mark sits on the disc. That is a foul, and the thrower pivots around it easily anyway. Keep an arm’s length.
- The mark switches sides. The thrower fakes, the mark jumps across, and for a moment both sides are open. Stick to the force.
- A downfield defender drifts to the break side. Standing on the break side of your cutter hands the open side over.
- Nobody counts. With no stall count the thrower is in no hurry. The mark counts every second, out loud.
Next post: the team defence built on top of the force, the zone, and why everyone switches to it on a windy day.